Home Brew Hydro:
A small hydroelectric project. New Penstock & Nozzles
Home Brew Hydro Saga
MK I: Early turbine and generator
MK II & III: New alternator and couplers
MK IV: shaft bearing and real world use
Coanda Effect water intake (New Rain Update!)
alt.energy.homepower discussion
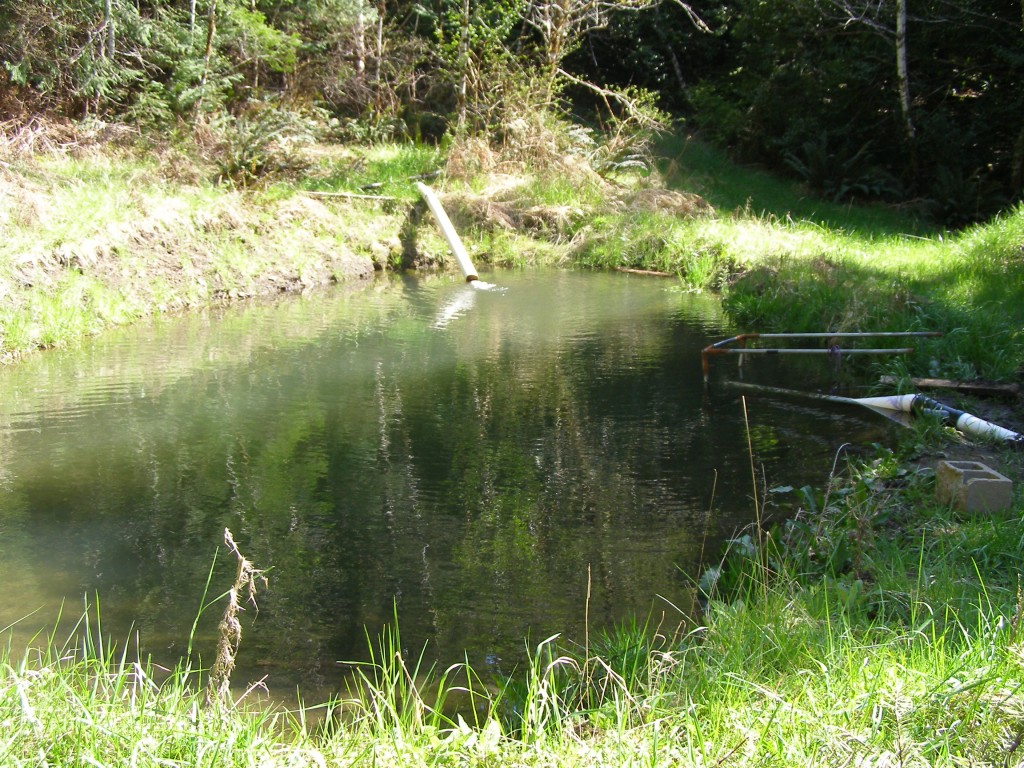
The Holding Pond
(the trout are kicking ass in there getting BIG!)
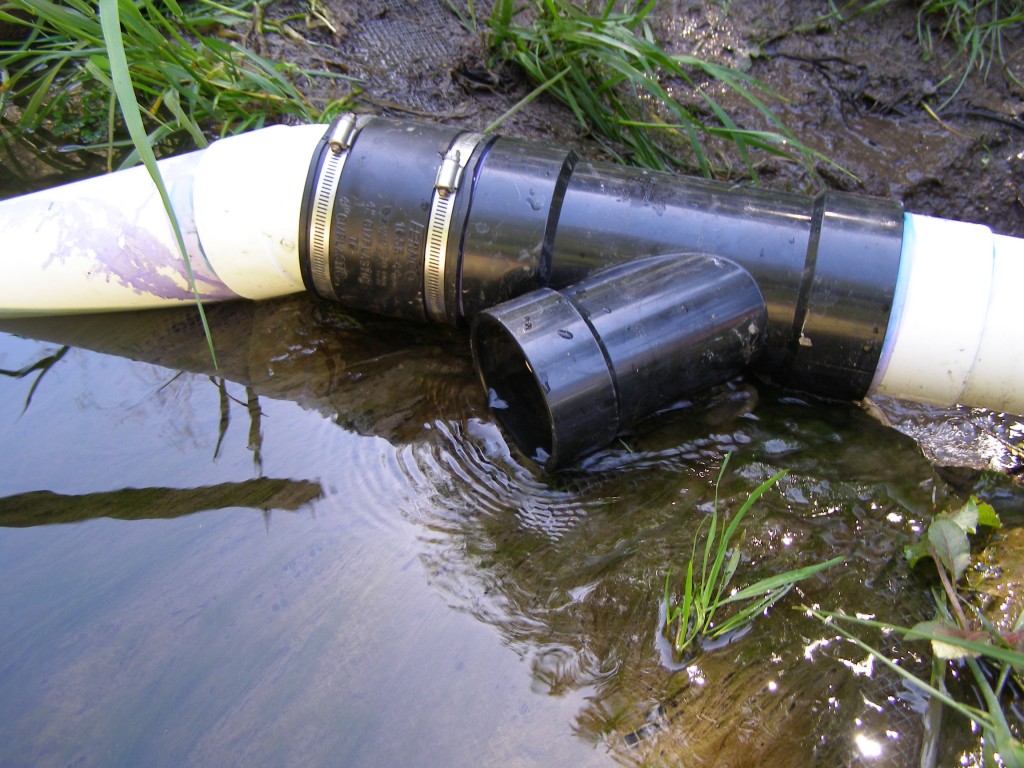
New Penstock, rubber coupling and primer branch.
I finally upgraded the penstock from 1-1/2 inch to 2 inch and built a new intake from the holding pond down to the hydro turbine. I scored about 120 feet of this four inch sewer pipe so I put it in at the top where the pressure is low. Not ideal but it seems to work OK and any time you can reduce friction its a good thing. From there its about 300 feet of 2 inch with 38 PSI at the bottom.
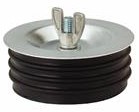
The image on the right is the primer valve, its just an expandable rubber plug that fits into the branch which I can open and let the pond overflow fill the pipe. This is handy when you've run the pipe dry and need to re-prime. I went with that rubber coupling so I could take the intake pipe apart and clean it out and/or change that as needs demand. No way was I going to glue that in and then get a clog and have go swimming to fix!! You home brew designers out there always keep that kind of thing in mind.. save you a lot of headaches. I know the best thing would be to dig the pipe into the pond where it wouldn't have to siphon out but I'm too paranoid to break the pond open at this pont. Maybe this summer when the water is low. It holds water so well I don't want to screw with it.
The next problem I had was getting some nozzles that could accommodate the larger pipe. Even using the old nozzles I saw a pretty big improvement in power. I had scored six harris hydroelectric brass nozzles (some were blanks) but they had some really strange thread and I couldn't find any fittings that would work. No wonder they were so cheap! So time for homebrew make your own bushings.
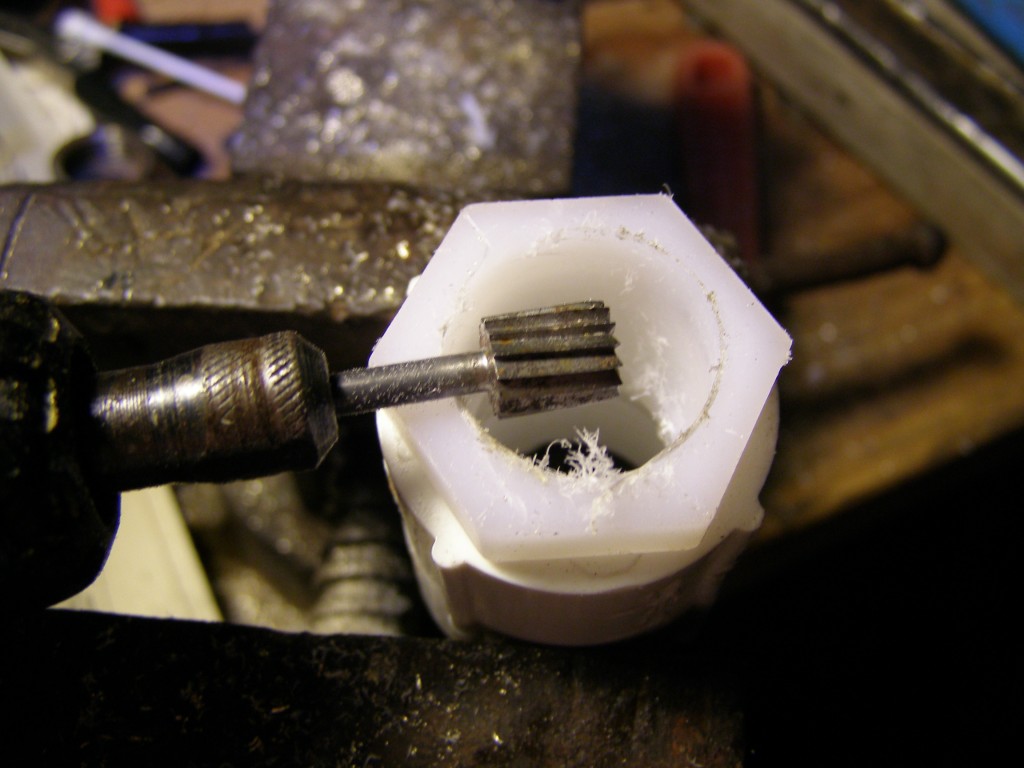
Hogged out a 3/4th inch NTP nylon end cap fitted into a 3/4th inch PVC female adapter. (dremel love)
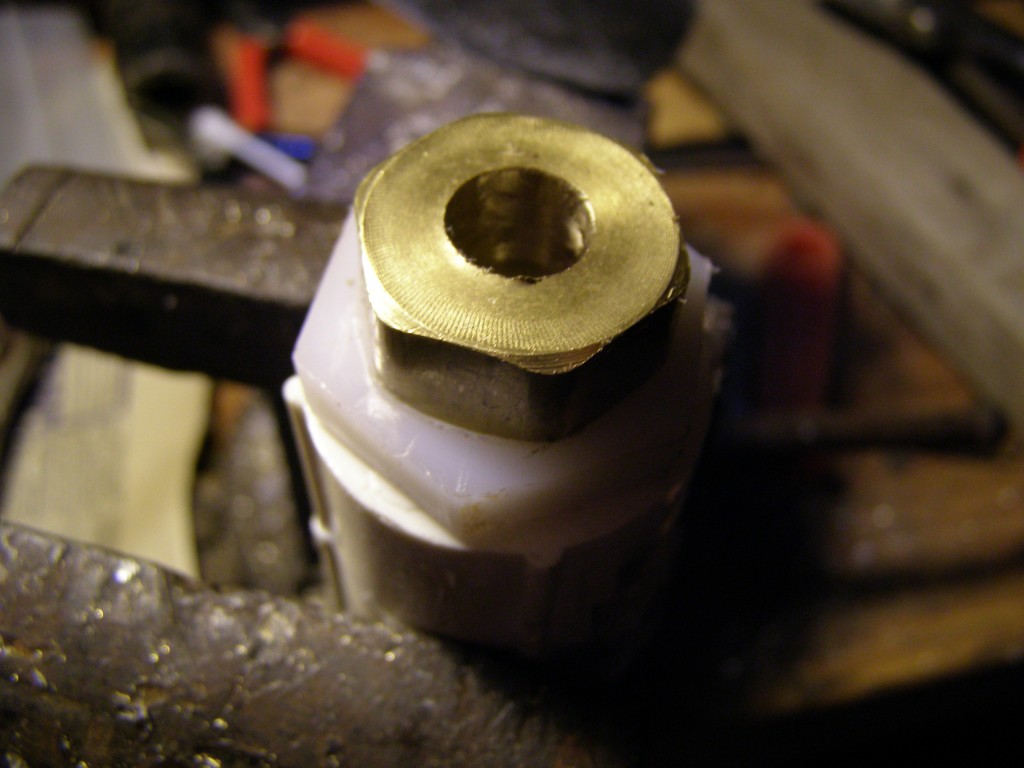
Coated the threads with epoxy and arm strong screwed the brass nozzle into the nylon bushing taking care to make sure it seated right.
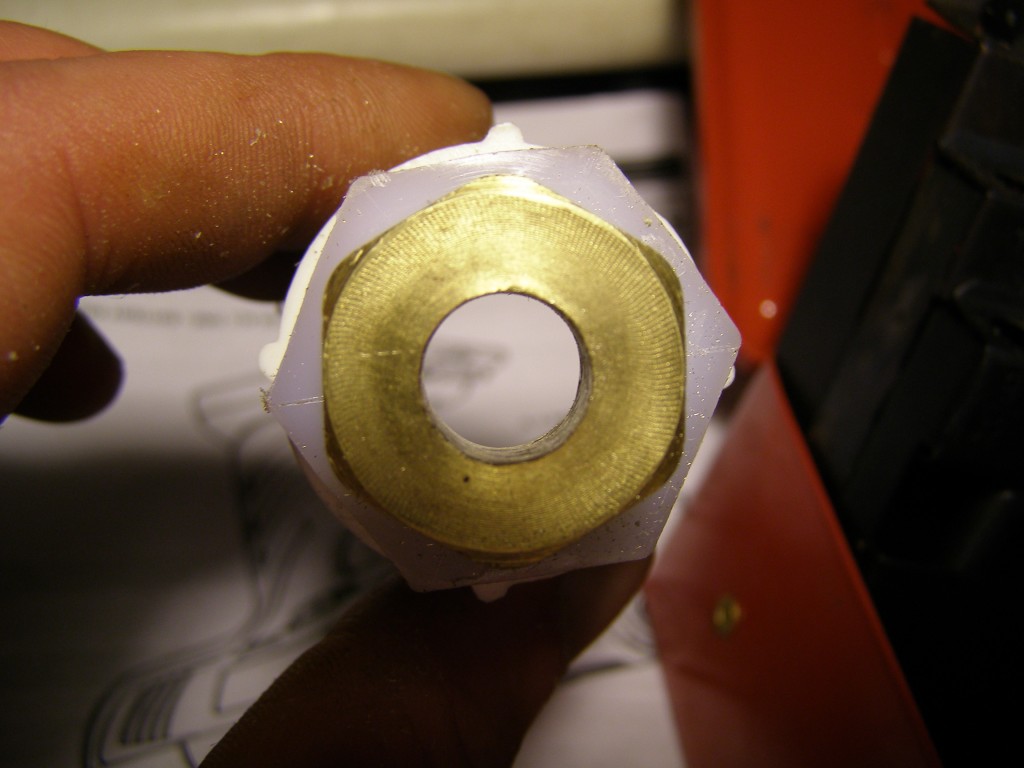
Drilled and polished the nozzles to 13/32 (.406 inch) which should yield around 30 gpm at 38 PSI which is about half of my maximum flow with 2 inch (60 gpm), so in theory I'd be using all the water I had to fire at the turbine and make the most power with the two nozzle setup..
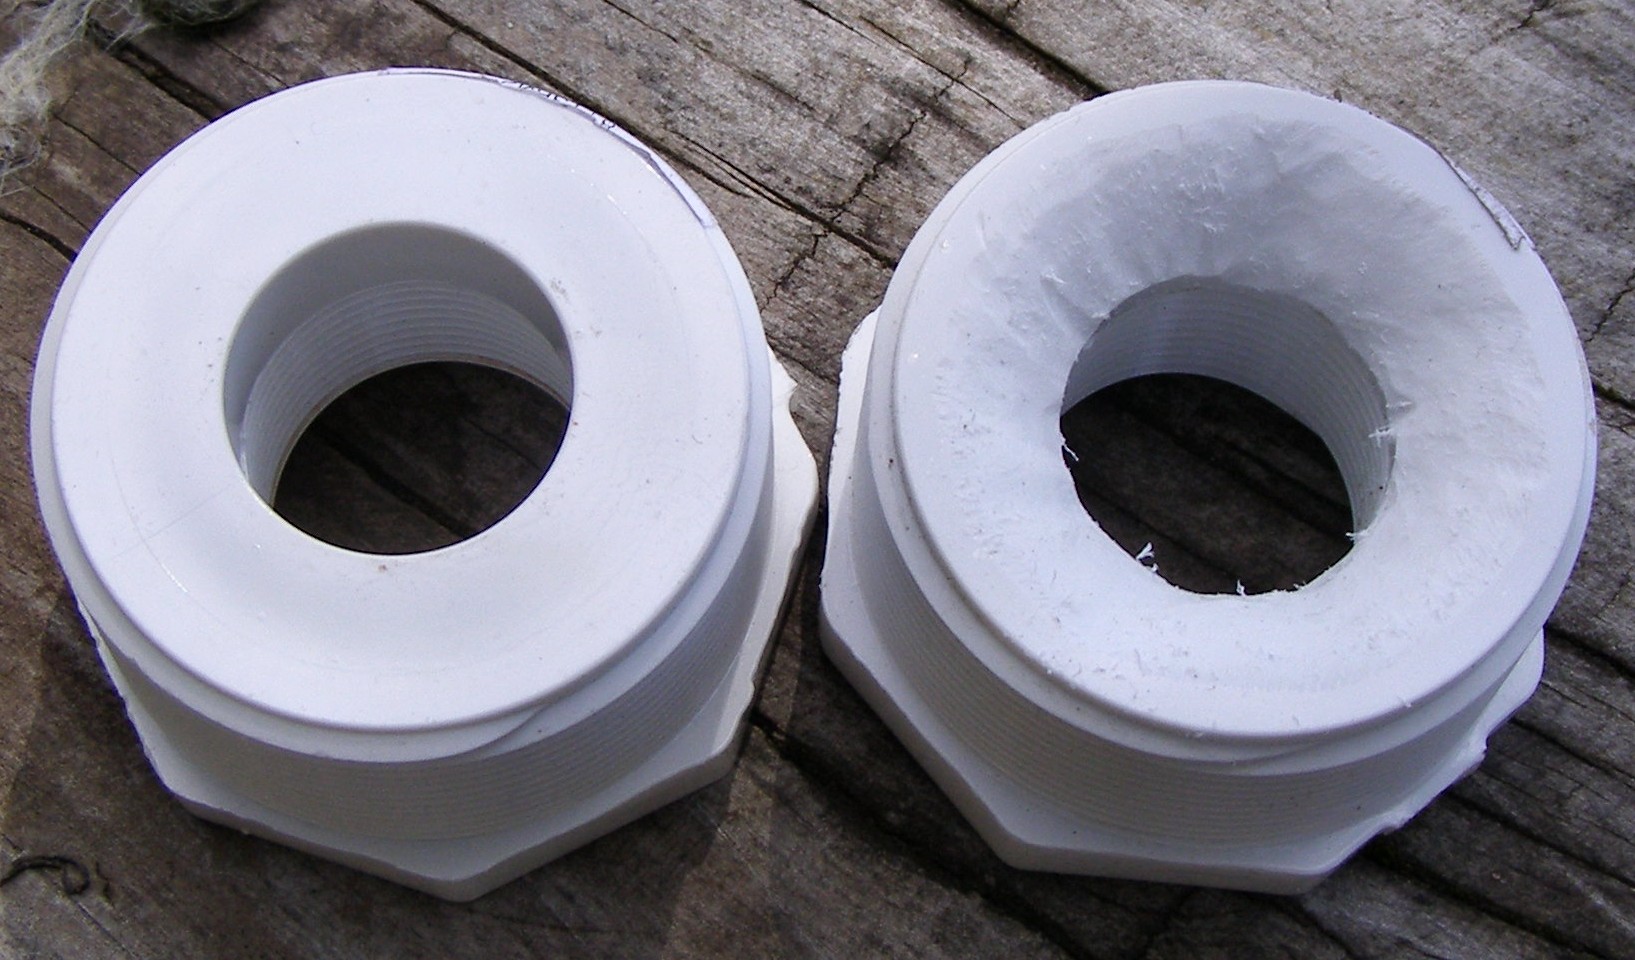
Another issue I had was transitioning from 2" PVC to 3/4th inch to feed the nozzles. I don't think the plumbers really care so much about velocity and aquadyamics, so when you can always try to remove the hard stops in bushings and when transitioning sizes. On the left is the regular one and on the right is the hogged out version (i made it smooth later). Its like porting and polishing a manifold on a car .. don't restrict the flow!
So how much more power?
Once again I don't have an ammeter to test the power. I plan on running it through my solar panel charge controller (its got an ammeter), but I haven't yet sinces its working and i'm using it. I'd estimate the power output is nearly doubled. Normally I could run about 4-5 hours with a full charge on the batteries till I had to switch out or turn off something big in the house (like my PC). Now I'm running nearly 8-10 hours without needing to do that. Next pay check I swear I'm getting one of those inductive ammeters that clamp on a wire. If someone has one they want to donate or give me a good deal on please contact me